
I’m no stranger to the kitchen. Cooking (and to a lesser extent, baking) is one of my favorite pastimes. When it came to trying my hand at baking sourdough bread, though, I conveniently steered clear of it for, literally, decades. Until recently.
True sourdough bread requires making a “starter” — basically cultivating wild yeast from the air, growing, feeding and maintaining a culture of them for all eternity, opposed to just running down to the local grocery store to pick up a yeast packet and dumping it into your flour and water mixture like you would with any other bread recipe.
“Sourdough bread is made by a process of fermentation using naturally occurring lactobacilli and yeast. Lactic acid fermentation and alcoholic fermentation occur in sourdough bread. The pyruvate, produced for glycolysis, are the substrates for lactic acid and alcoholic fermentation.”
https://prezi.com/kxosdoz2fjso/sourdough-bread-fermentation/
“I’m a scientist,” I told myself, reassuring my lingering doubts with, “I have some grip of microbiology and biochemistry,”
As much as I tried convincing myself, it seemed risky that I could actually pull this off. On top of that, it seemed like a lot of work, not to mention expensive feeding this eternally hungry Yeast Beast, to say the least! (Hey, that rhymes…)
Alas, every baking blog I read assured me that it was, “So easy!”
So, being a cook and a science nerd, I decided to give fermentation baking a shot. Spoiler alert: it was not “so easy” and, really, ended in an epic fail.
I followed a recipe I found on YouTube that promised I’d have a “lovely and bubbly” sourdough starter in just a few days.
Day 1: mix 50 grams of flour with 50 grams (=50 milliliters) of water. Easy enough. Done.
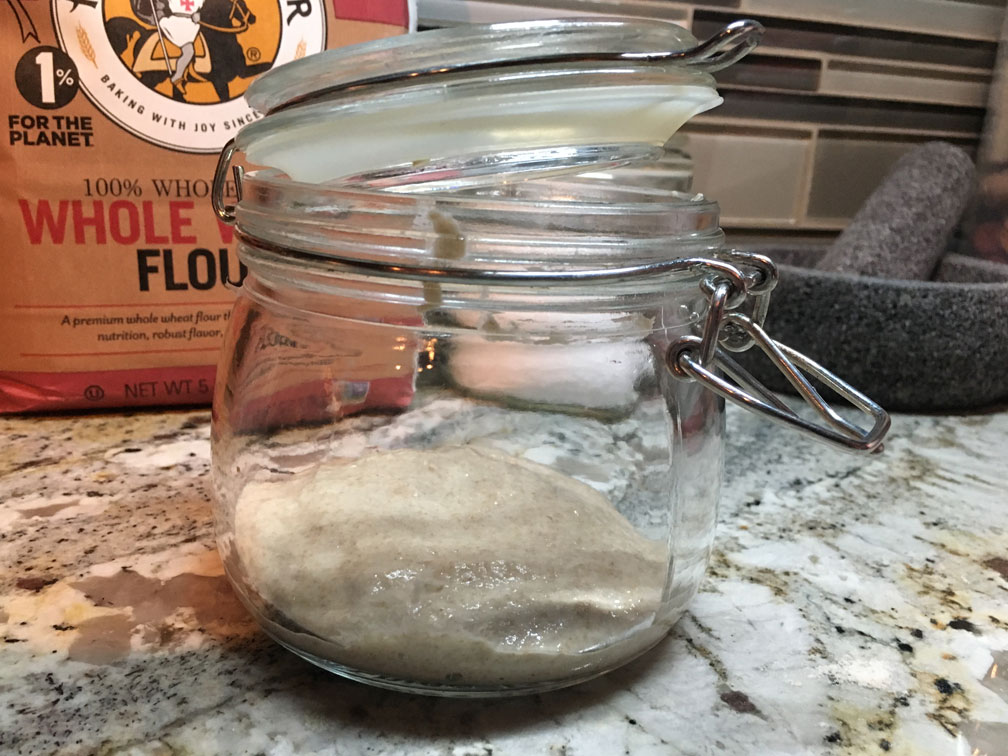
Day 2: the first feeding. After one day, add 50 grams of flour and 50 grams of water to feed the yeast that had found their home in the initial flour/water mixture. This should get the colony going and on its way to useable yeast. I used a rubber band to mark the starting point after feeding to see how much the culture had risen.
It was awesome to see that within just a couple hours after the first feeding, the starter was already rising! It looked like I was on the way to success.
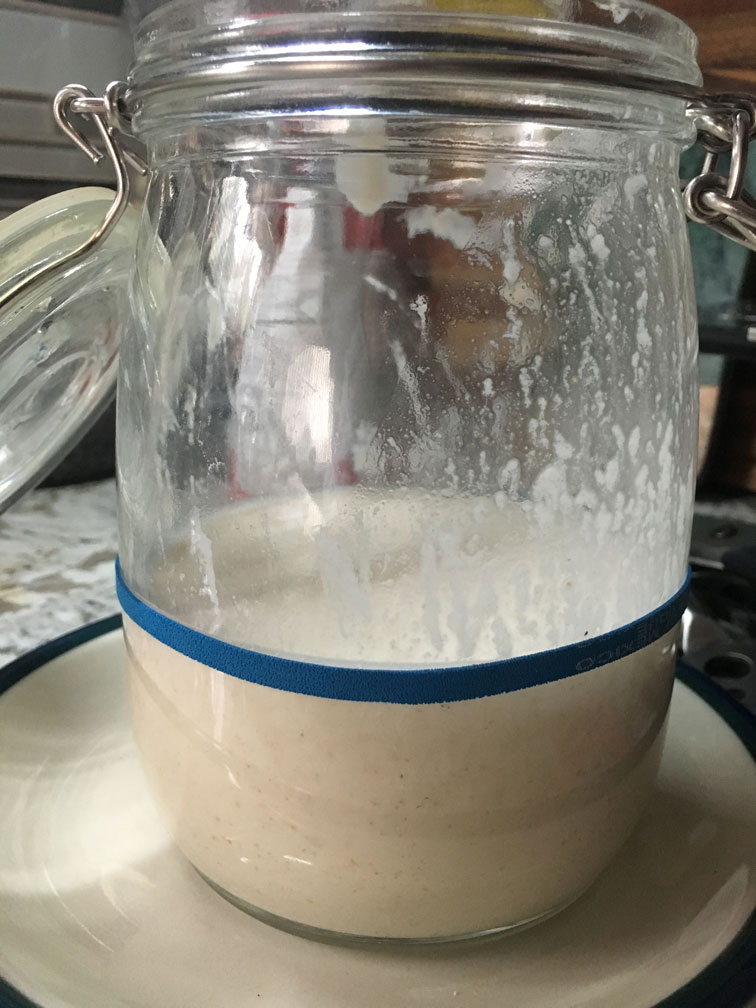
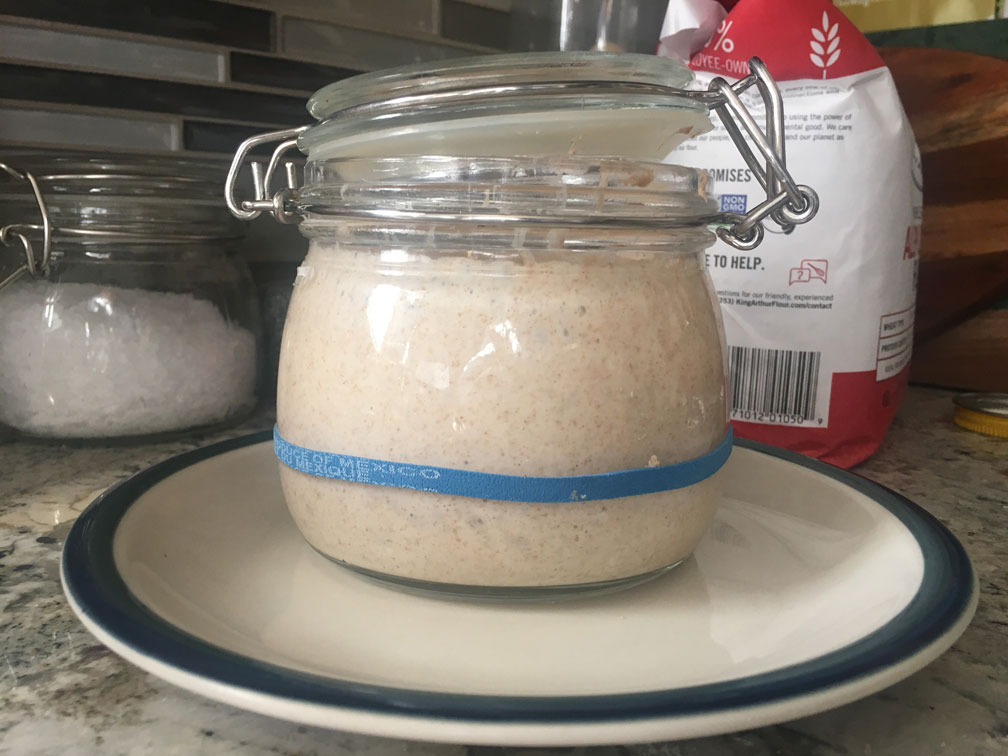
Next morning, the starter had more than TRIPLED in size. Just look at the bubbles of carbon dioxide that had formed! Lovely and bubbly, indeed.
“I am the Sourdough Master,” I was starting to think. Forget about teaching, I was ready to start a bread shop and show Bread and Cie what’s up.
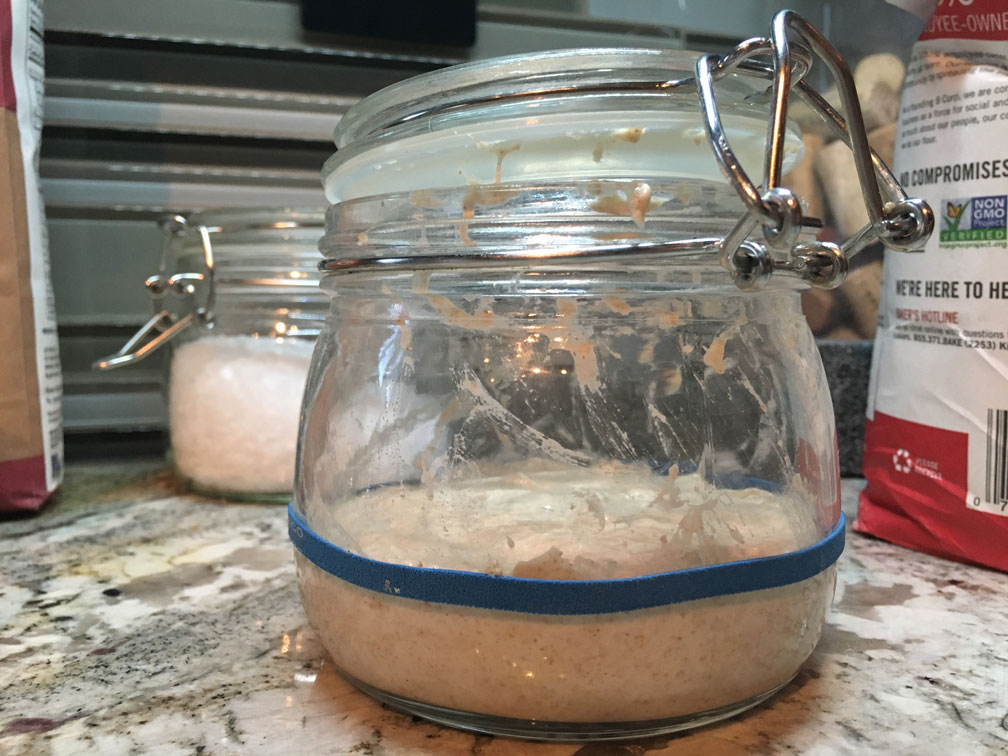
Day 3: second feeding. The rule of thumb I had learned was that you want to discard all but, say, 100 grams of the starter, then feed it with 100g of flour and 100g (whatever weight you retain, you add the same amount of flour and water). At this rate, I was going to have starter overflowing onto the floor, so I moved 100g into a bigger jar and fed it with the prescribed amount. Next morning, it had risen, but not with the same fervor I had for becoming a world-class sourdough prodigy. Maybe double-plus of what it was the previous day?
Still, those growing bubbles looked promising.
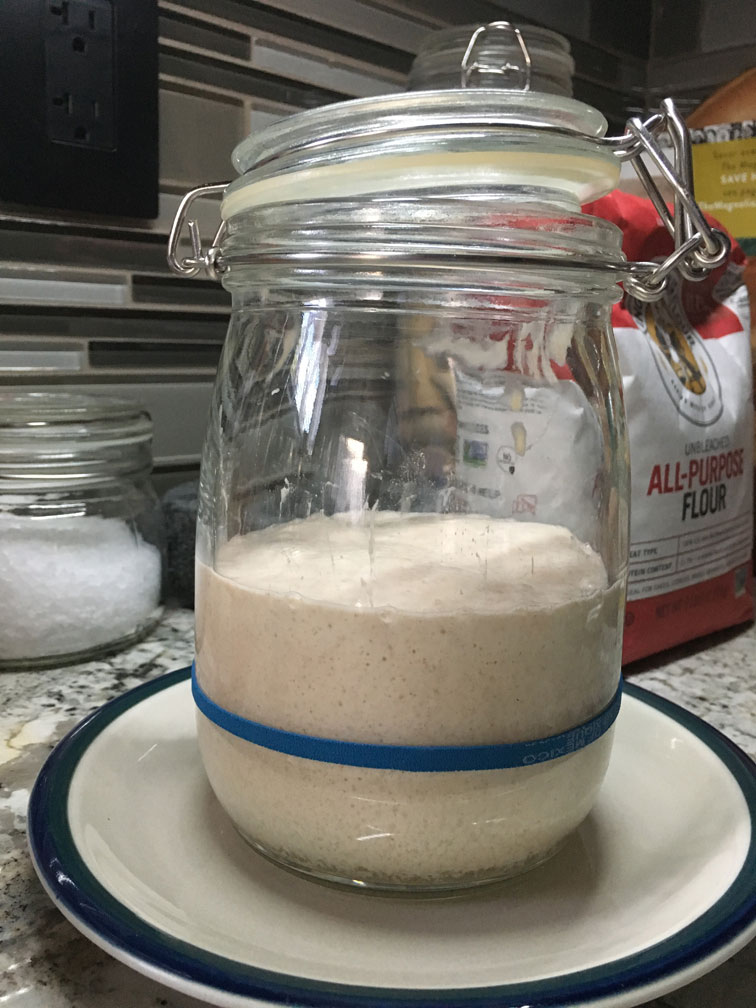
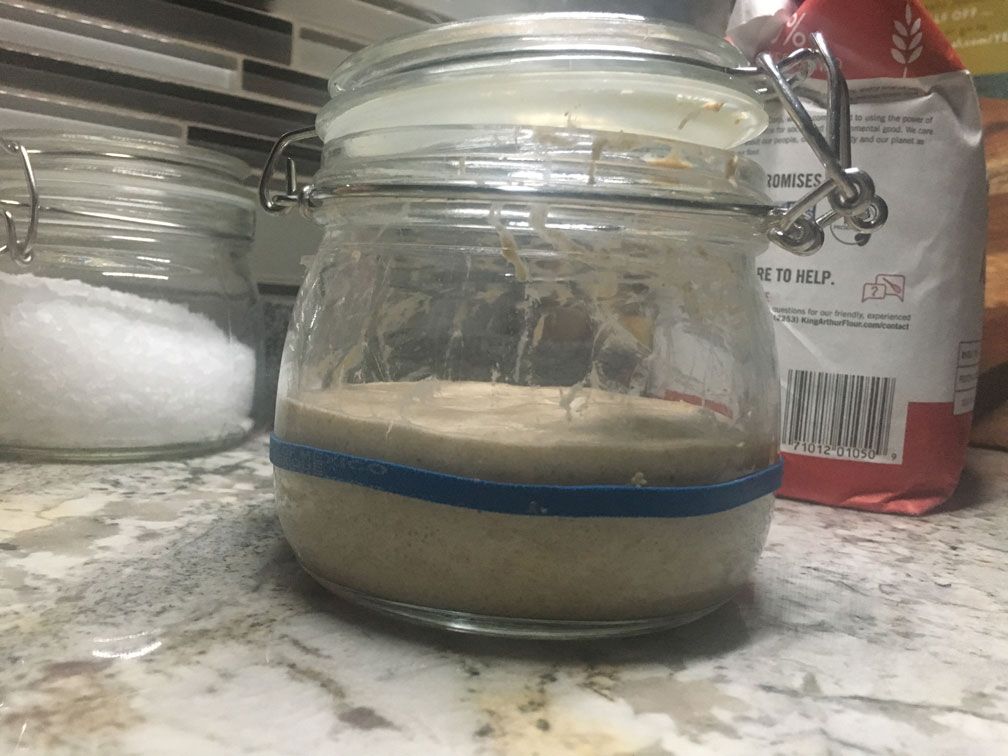
Day 4: third feeding. I retained 150g of the previous day’s starter, fed it with 150g of flour, 150g water and let the next 24 hours go by to find this the next morning: flabby starter, bubbles gone, with a layer of “hooch” floating on top. Hooch is a metabolic byproduct (alcohol) that, basically, means that your starter isn’t getting enough food.
And that’s about all the rising and “lovely bubbly” I ever got out of this starter, despite days weeks of trying to revive it. Epic fail. BUT! I am determined to not let some lowly yeast get the better of me. It’s back to the drawing board (and a lot of Googling) to figure out what the next step will be.
Stay tuned.
Leave a comment